For the last couple weeks of my internship, I will be focusing on unpacking materials, making sure they are in AirTable and our collection’s catalog, and then properly archiving them into our collection’s shelves. While beginning this process, I learned how to use AirTable which is basically an online form of our archive. It’s a useful way to keep up with the labeling system and what comes next, so to speak, when putting boxes of items on the shelf. I began unpacking boxes from one of the archives’ donors, and from there I’ve started sorting them into piles based on their ‘theme,’ or what sort of history they have to do with. For example, a lot of items that are donated to the archive are items that pertain to certain groups like the United Daughters of the Confederacy, so those items I can sort into one pile. I have been doing that for other ‘themes’ of objects/items as well. It has been an interesting way to realize what people bought or kept and I’ve been wondering why people thought some of these things were important. While unpacking these items, it is not surprising when I run into racist materials, as I’ve mentioned before. So, I have had to take breaks from looking at these items and photos because it can often take an emotional toll.
As the last weeks of my internship progress, I will be making sure the items are in AirTable, making archival labels, putting items and photos into boxes, and putting them into our collection. It has been a fulfilling time at the Maurice Berger Archive and I’ve learned a lot about archiving. The next couple of weeks will be spent dedicating time to archiving a great deal of materials, and I look forward to completing that!
Internships Blog
Week 4: Scanning Vernacular Photos
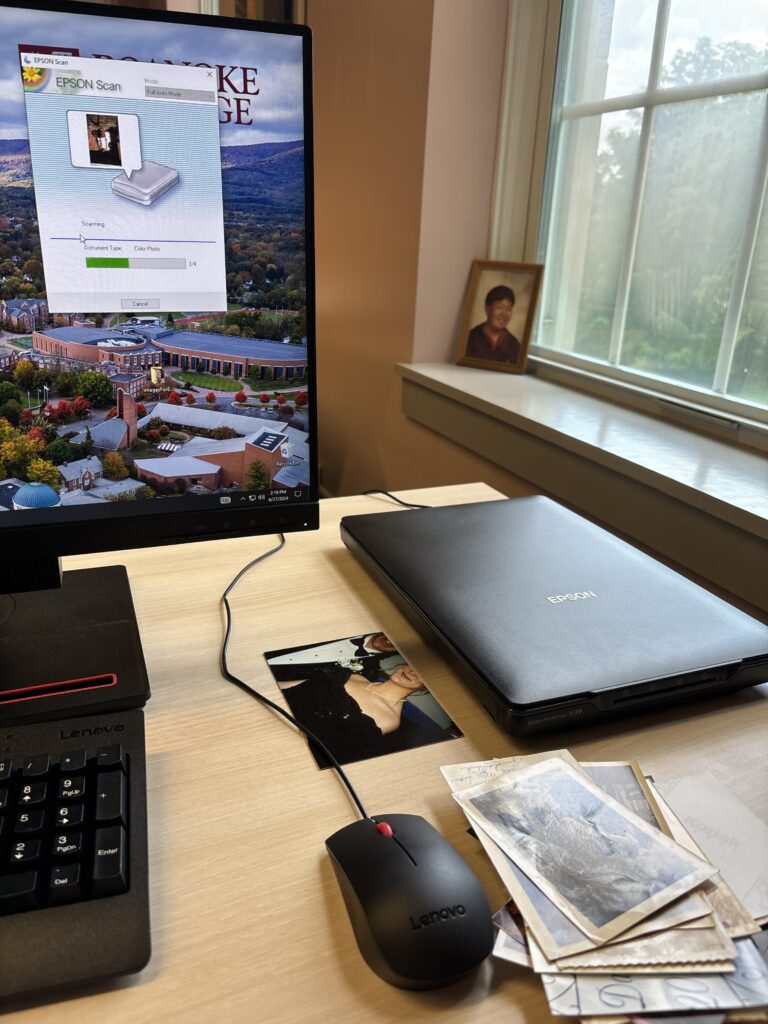
One of the next steps in my internship was scanning Peter Cohen vernacular photos into the computer. The photos were donated to the Berger Archive by Peter Cohen who is a famous photographer. This week, I learned how to use the scanner we have in the archive and why it’s important to digitize materials and have them scanned into a computer. It was a lot of fun to sort through the photos and put them into a digital folder. I would go through and scan hundreds of photos a day to be sent to a friend of the archive to be used for their art! It was a lot of repetitive movements of taking the photo from the box of photos to the scanner to be scanned, but it is important work! I had to make some decisions about what photos would fit in our collection and which ones would not. For example, if a photo was too recent (taken within the last 15 years or so) then we did not choose to scan it in to be part of our collection. Something interesting I learned was how to make the decision of what to keep in the photography collection and what not to. By the end of scanning photos in, I had scanned around 300+ photos altogether. It was a lot of fun to see what people decided to take photos of and what was important enough to take a photo of.
In the photo above, you can see the scanner to my right and a stack of photos next to it. The photo lying next to the scanner is a photo we decided not to scan in because you cannot see the faces of the people in the photo!
Week 3 At Berger Archive: Archiving Vernacular Photos
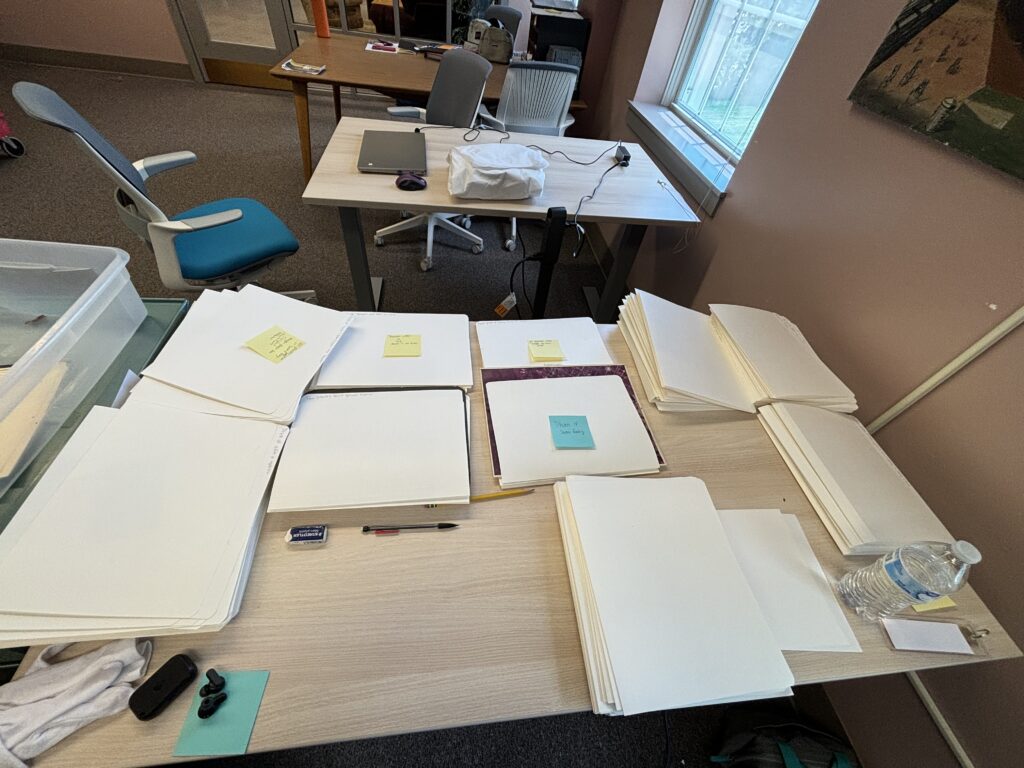
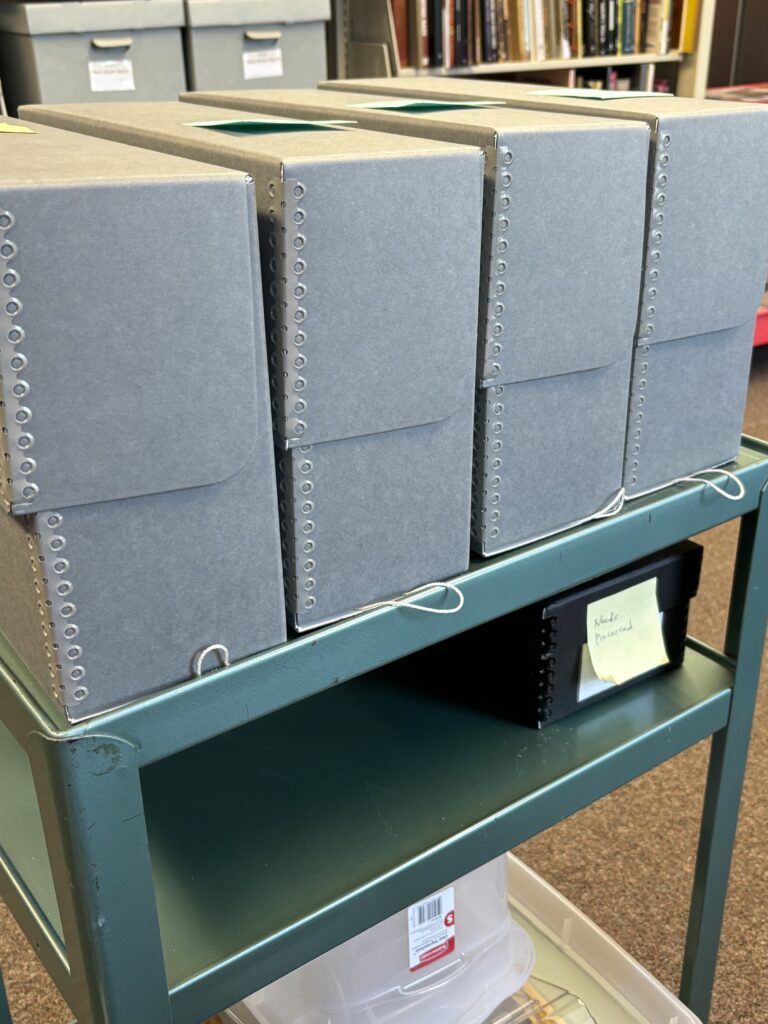
As week two turned over into week three, I was still archiving the vernacular photos in the Gibbs collection. Throughout the process, I began putting them into acid free/archival folders, and from there I would learn how to put them into acid free boxes to be stored safely. While I was sorting through these, they would often be in a photo album, or frame, so step one was to remove the photos from their frames or albums. This was important because it’s difficult to archive a whole frame or photo album if it’s intact. From there, I began writing descriptions onto the tops of the folders describing the images. I began to run into a challenge of running out of archival folders. Because of this, I had to pivot and think critically about how I wanted to archive and group together the photos instead of making an individual folder for each of the photos. From there, I grouped some of the photos together based on the event, where the photo was taken, and who or what were in the photo. For example, there was a folder full of wedding photos from the 1920s, and that was my favorite collection I made. When archiving photos I learned that it’s important when grouping the photos together to make sure they all share a common theme, kind of like if I was sorting them into albums.
In the first photo, you can see the folders I was putting the photos into with sticky notes attached. The sticky notes helped me remember what photos were from which box and who they belonged to/if anyone in the photos were related, and if they were, the sticky notes helped me keep those photos together. After sorting them into their rightful folders, I then proceeded to put them into archival boxes, and make labels for them. Unfortunately, I do not have photos of the boxes with labels, but in the second photo, you can see the boxes I put them in! Getting to finish up this project was extremely fulfilling and satisfying. Because of this project I was able to recognize that archival work is something I want to pursue in the future and something that I genuinely enjoy!
Week 2: Assembling A Camera Replica
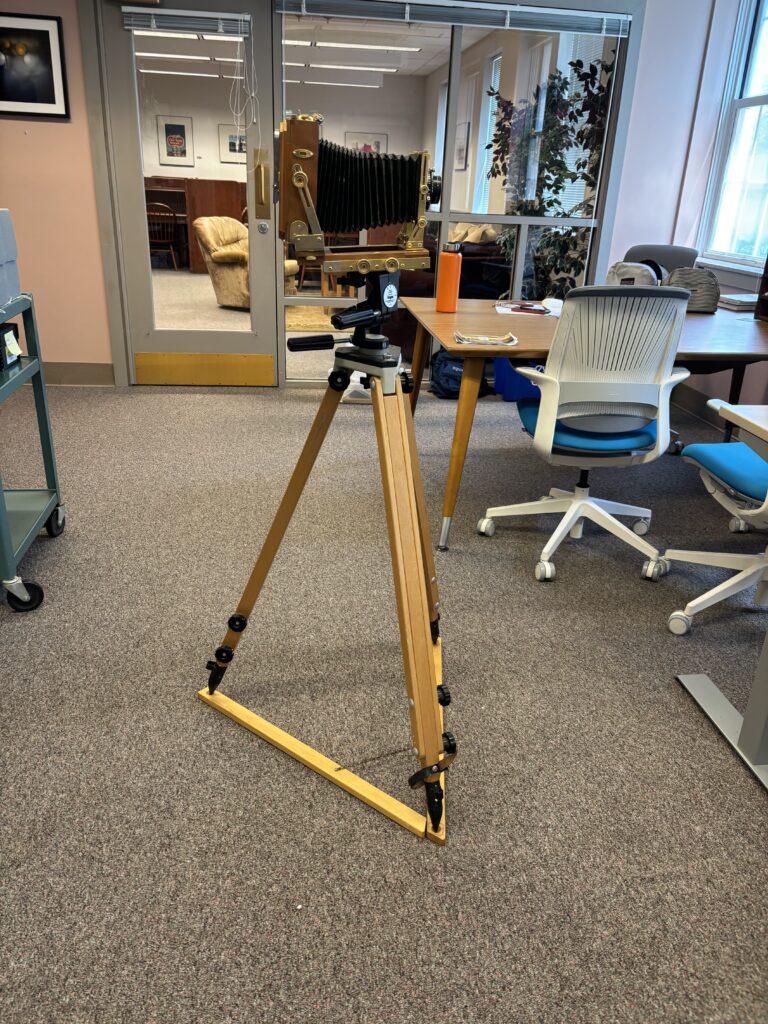
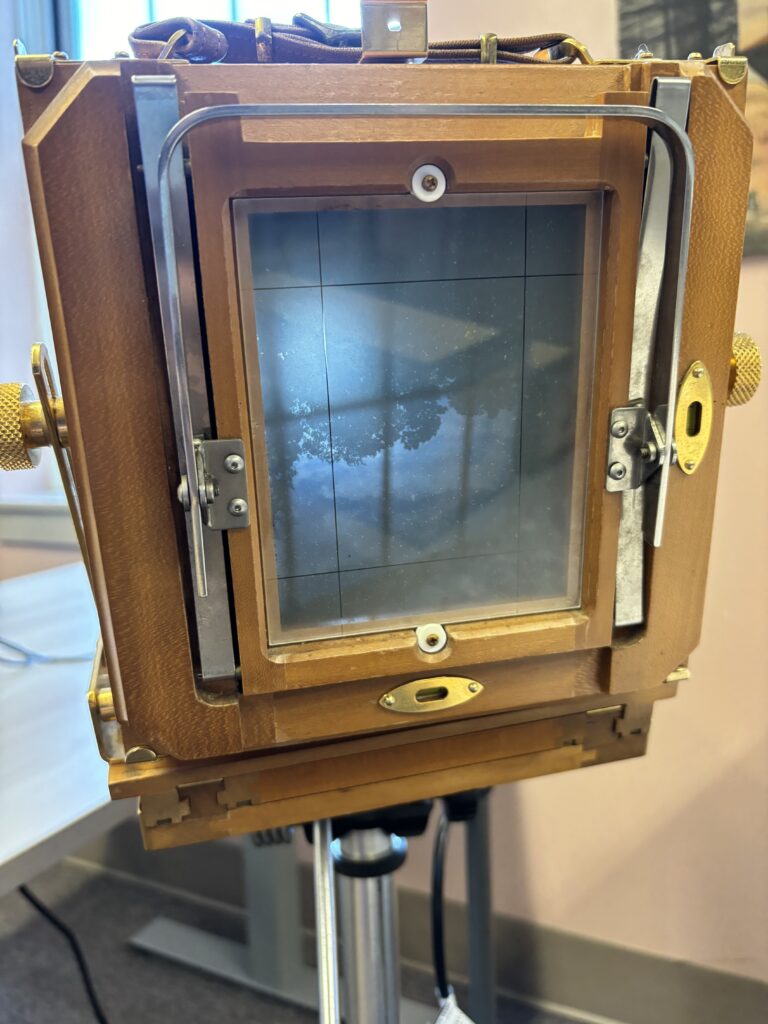
During the second week of my internship, Dr. Bucher and I put together a replica of a nineteenth century camera. At first, when we unboxed it, we thought it was accurate to the period. Upon further inspection, we realized that it was replicated. It had two lens caps that came with it which were one of the indicators that it was a replica because they looked to be a bit newer than what they would have been if the camera was not a replica. As you can see in the above photo, when looking through the lens, it looks like a camera obscura. It was interesting to see what a camera would have been like in the late 19th century.
At the same time as we were putting together the camera, I had been sorting through the vernacular photos donated by Dr. Gibbs. While I was sorting through them, I had often wondered why so many of the photos were taken outside. When I was assisting Dr. Bucher with putting the camera together, I asked him. I learned that people took photos outside because older cameras did not have a flash on them, so it was important to take photos where there was light so the photos would not be dark.
In the above photos, you can see the camera we put together and the tripod it came with!
First Week at Maurice Berger Archive!
I started my internship at the Maurice Berger Archive on June 10th! The first week of my internship was great! I worked with Dr. Bucher on getting acquainted with the collection and how the archives were organized and how objects are archived in the collection. My first task of the internship was to organize vernacular photos that were donated to the archive by Dr. Gibbs. I started to familiarize myself with terms that archivists often use. For example, I didn’t know that vernacular photos were just what non-archivists would call ‘candids,’ so that was a fun fact from my first week! During this week, I learned that it is important to set boundaries for yourself when working with objects that are in collections like the Maurice Berger Archive. There are often materials/objects that can be jarring due to their racist history, so I learned that its important to know when to take breaks from looking at objects. At the end of my first week, I found myself looking forward to the following week and what was to come!
Final Days at O. Winston Link Museum
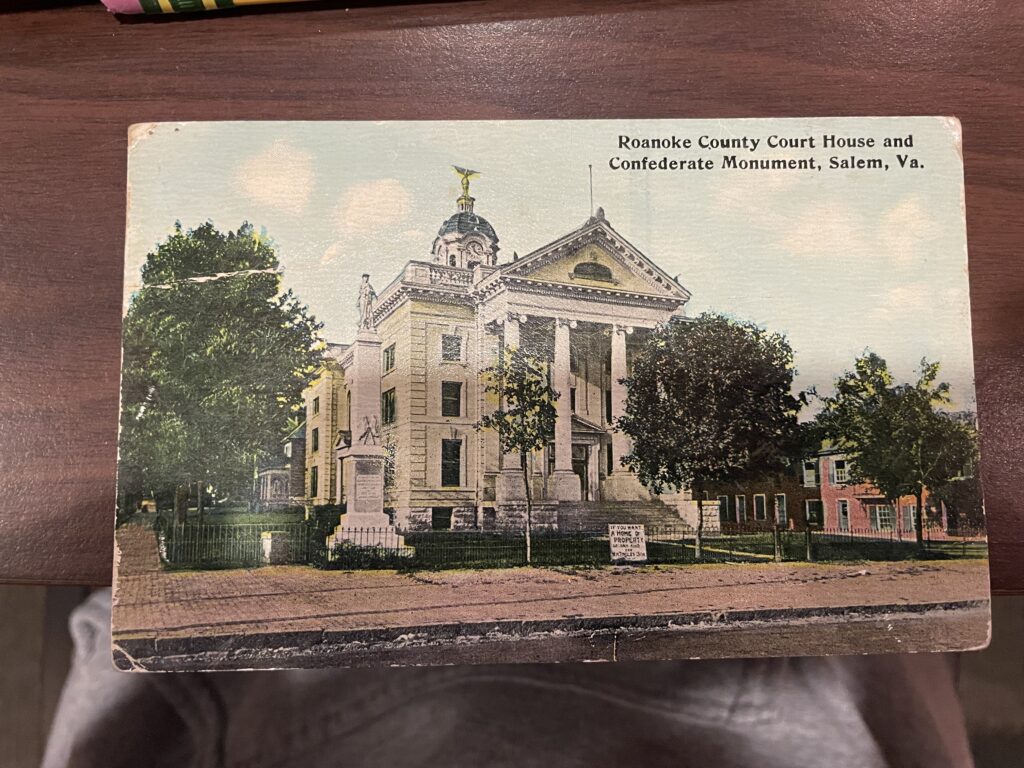
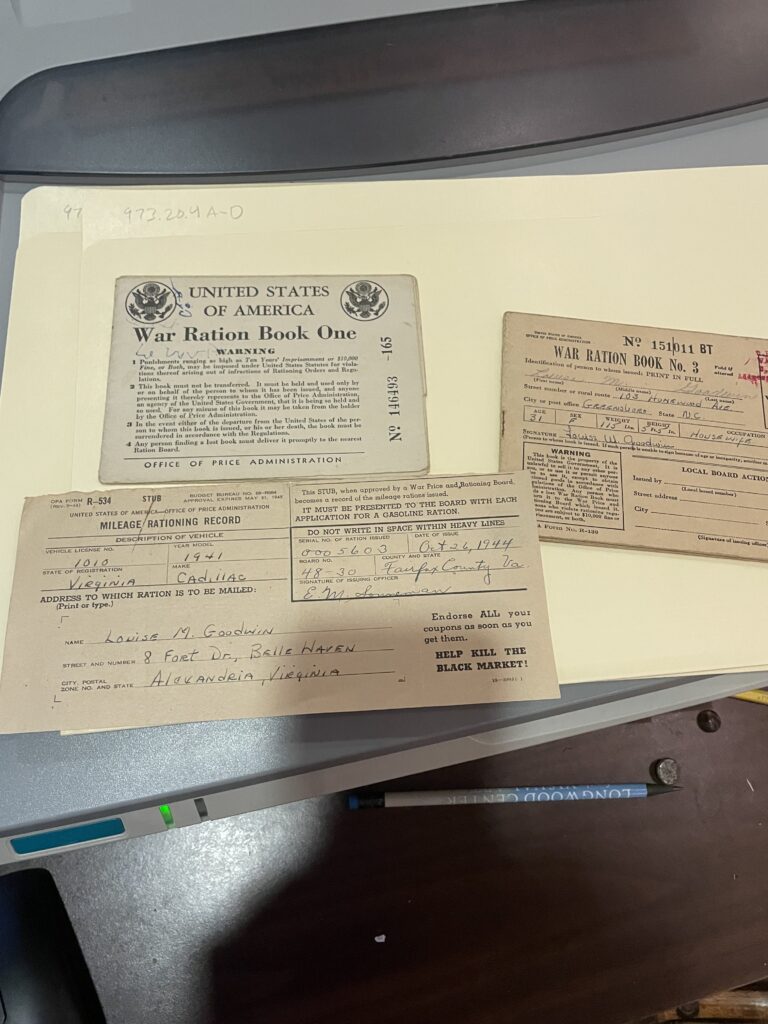
I finished my internship a week earlier than I anticipated. This past week was my last week at the museum and it was an emotional, yet rewarding experience. Looking back on what I learned throughout my internship, I can confidently say that working in archives and collections is what I want to do for the rest of my life. I continued working on a gift that was recently given with photos, the rifle, two bibles, documents and postcards like the one pictured above.
I thought it was extremely interesting that there was a home-like building behind the Roanoke County Courthouse that is now West Hall for Roanoke College. My curiosity got the best of me and I started questioning a lot. Unfortunately, they had to be put on hold because my time ran out. I was lucky enough to be able to have such a fruitful internship experience and a great internship advisee/boss, Ashley W.
Photographs
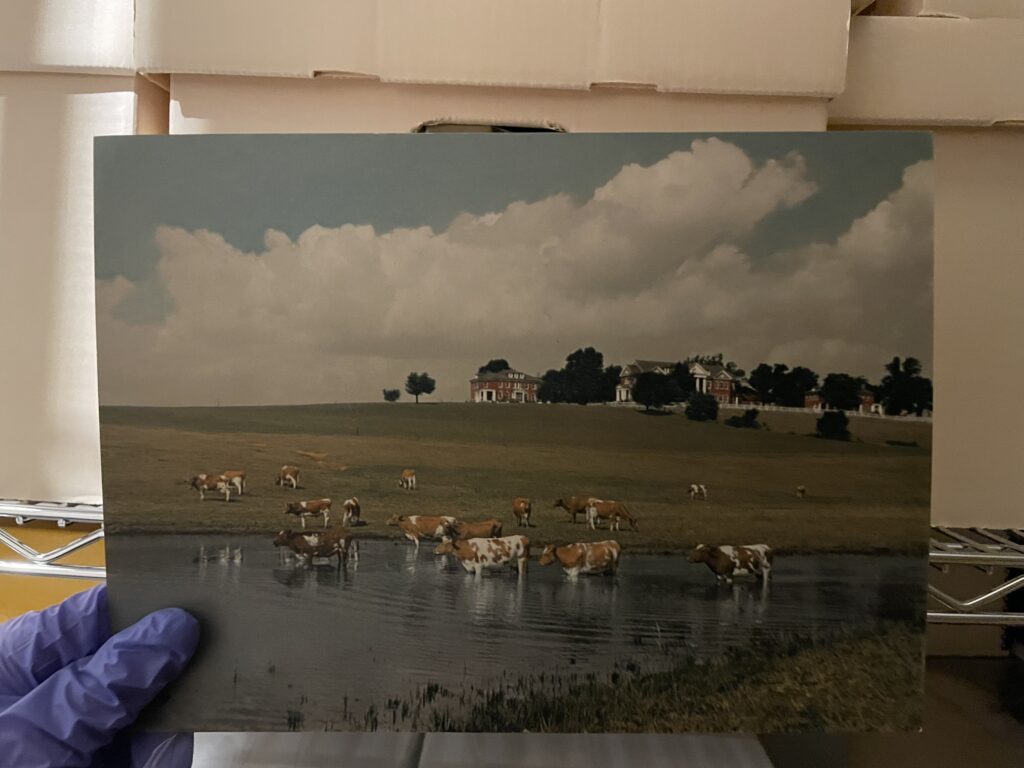
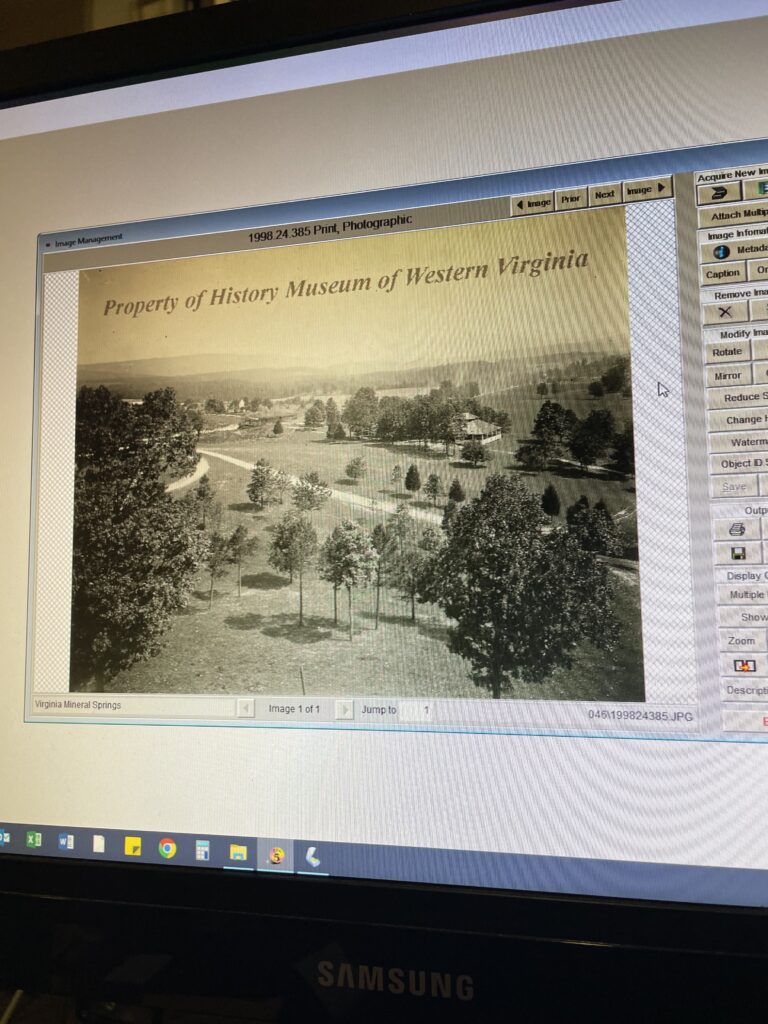
The past two weeks, I’ve focused on accessioning, packing and labeling photographs. I would add the photo and its accession number to Past Perfect and simply describe what was happening in the photo. The photos were mostly portraits of family members from the Lawson/Alls family. I was only able to name a handful of individuals because of the descriptions on the back, written in black ink or graphite. In terms of labeling and packaging, I would write the accession number in the bottom right corner on the back and place it into a tan folder with the same number written on the to for easy access.
Last Friday, I was tasked with finding a photograph that was not in it’s original spot (bottom photo). During the search, I came across a photo of the Lutheran Children’s home, an orphanage that eventually became Elizabeth College where the fraternity houses are. I thought that it was pretty cool. I searched through many boxes and each folder individually and was unable to find the photo in the three hours I was there.
Photography
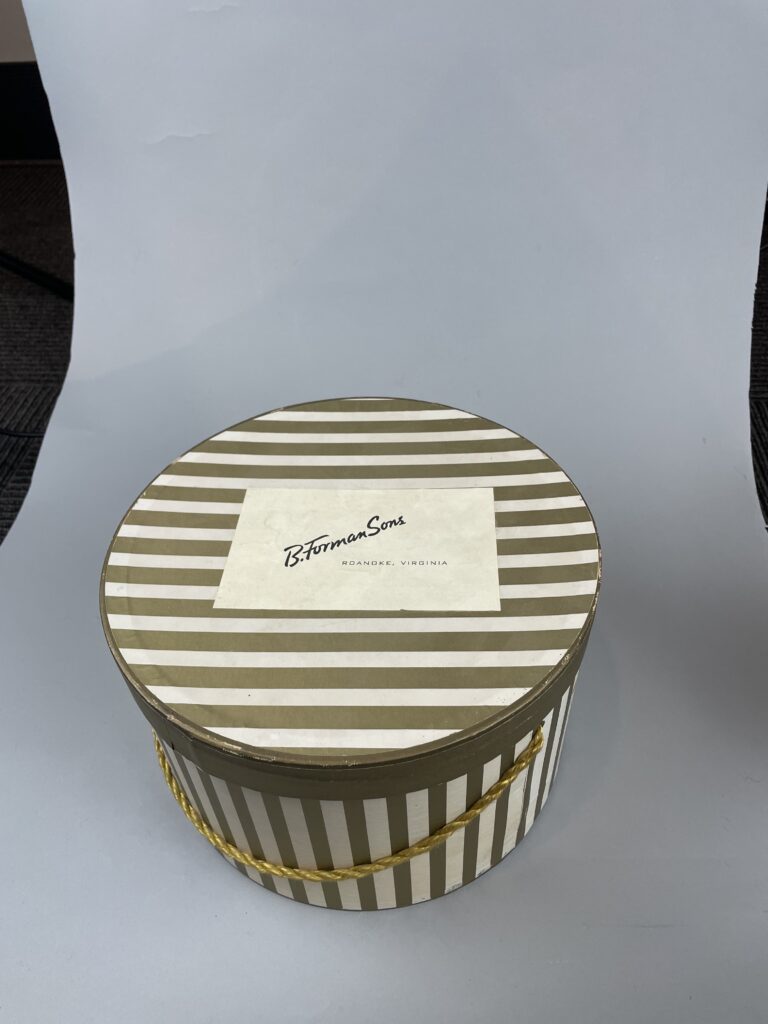
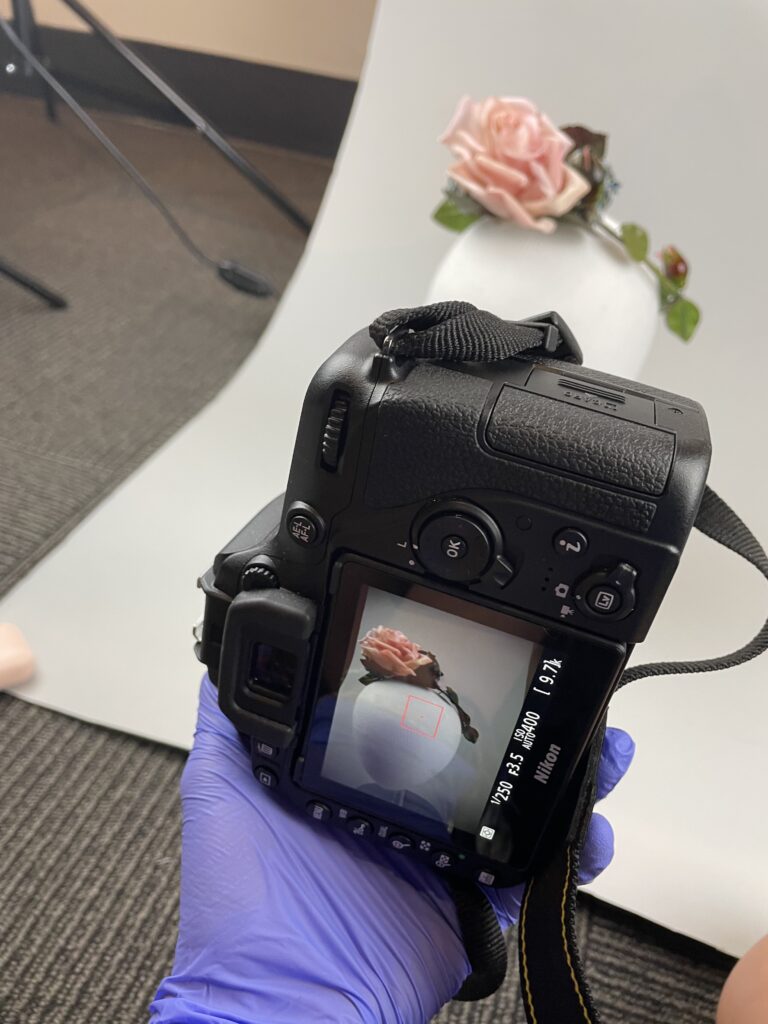
This was my first week back after a two week hiatus. Since I’m getting back in the groove of things, I was assigned a short project of photographing and labeling hats and hatboxes, as well as entering them into Past Perfect.
First, I labeled the hats and hatboxes. Since hats is an article of clothing, I had to write their identification number on book tape and then sew that on the hat (just enough to where it can be undone if necessary).
Photography took a majority of my time because I had to focus on getting as many angles as I possible can (a lot of photos were taken for fourteen hats). With those photos, I organize them into the Collection Images, edit and insert the photos into Past Perfect. Entering the information and images into Past Perfect will be a side project I’ll continue as I work on my main project.
Research on a Civil War Rifle
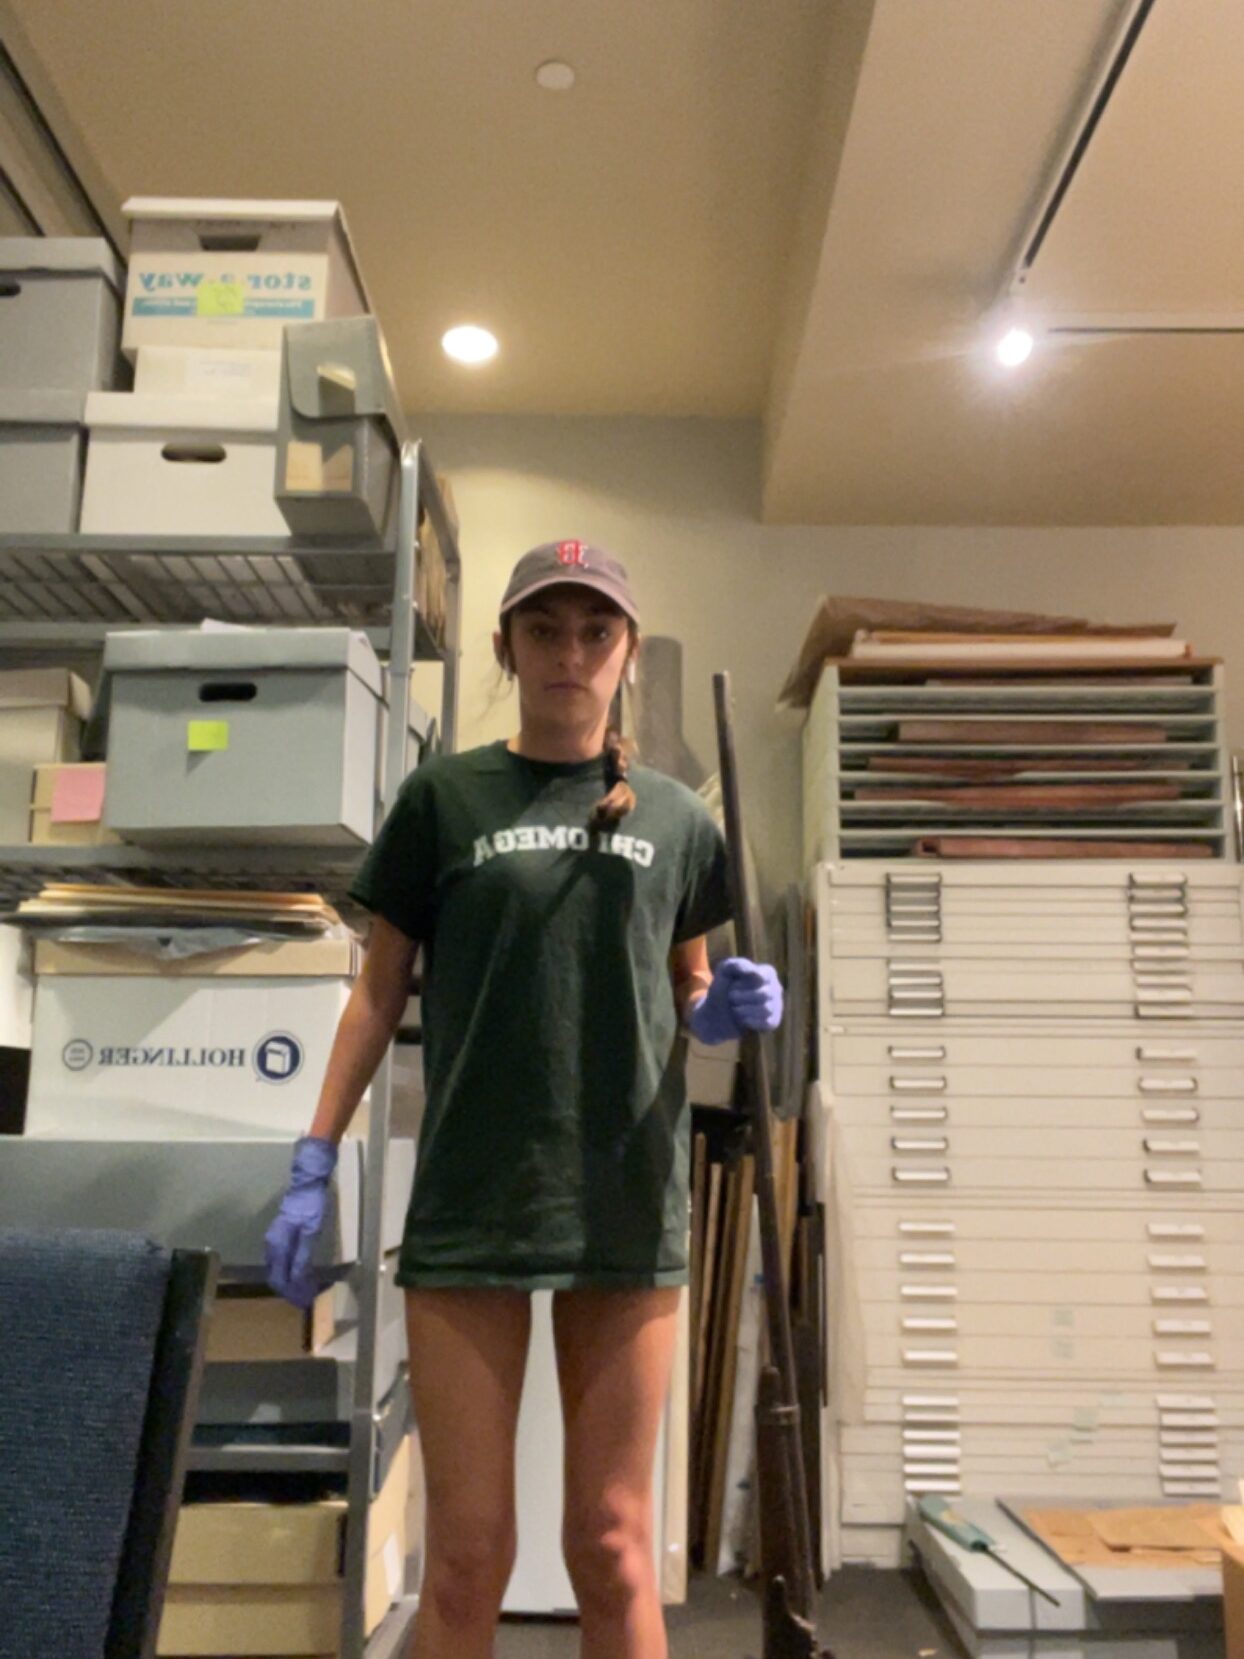
Since my last post, I’ve been accessioning new objects and archives and moving objects and such in storage. I walked into the archives room and saw this rifle and was instantly intrigued. My internship advisor asked me to do some research on it since we were unsure on the model and make of the rifle at the time. When she was gifted the rifle, the donor said that US SPRINGFIELD was engraved on it, but she couldn’t see it, so she was not 100% positive that he was telling the truth. He indeed was.
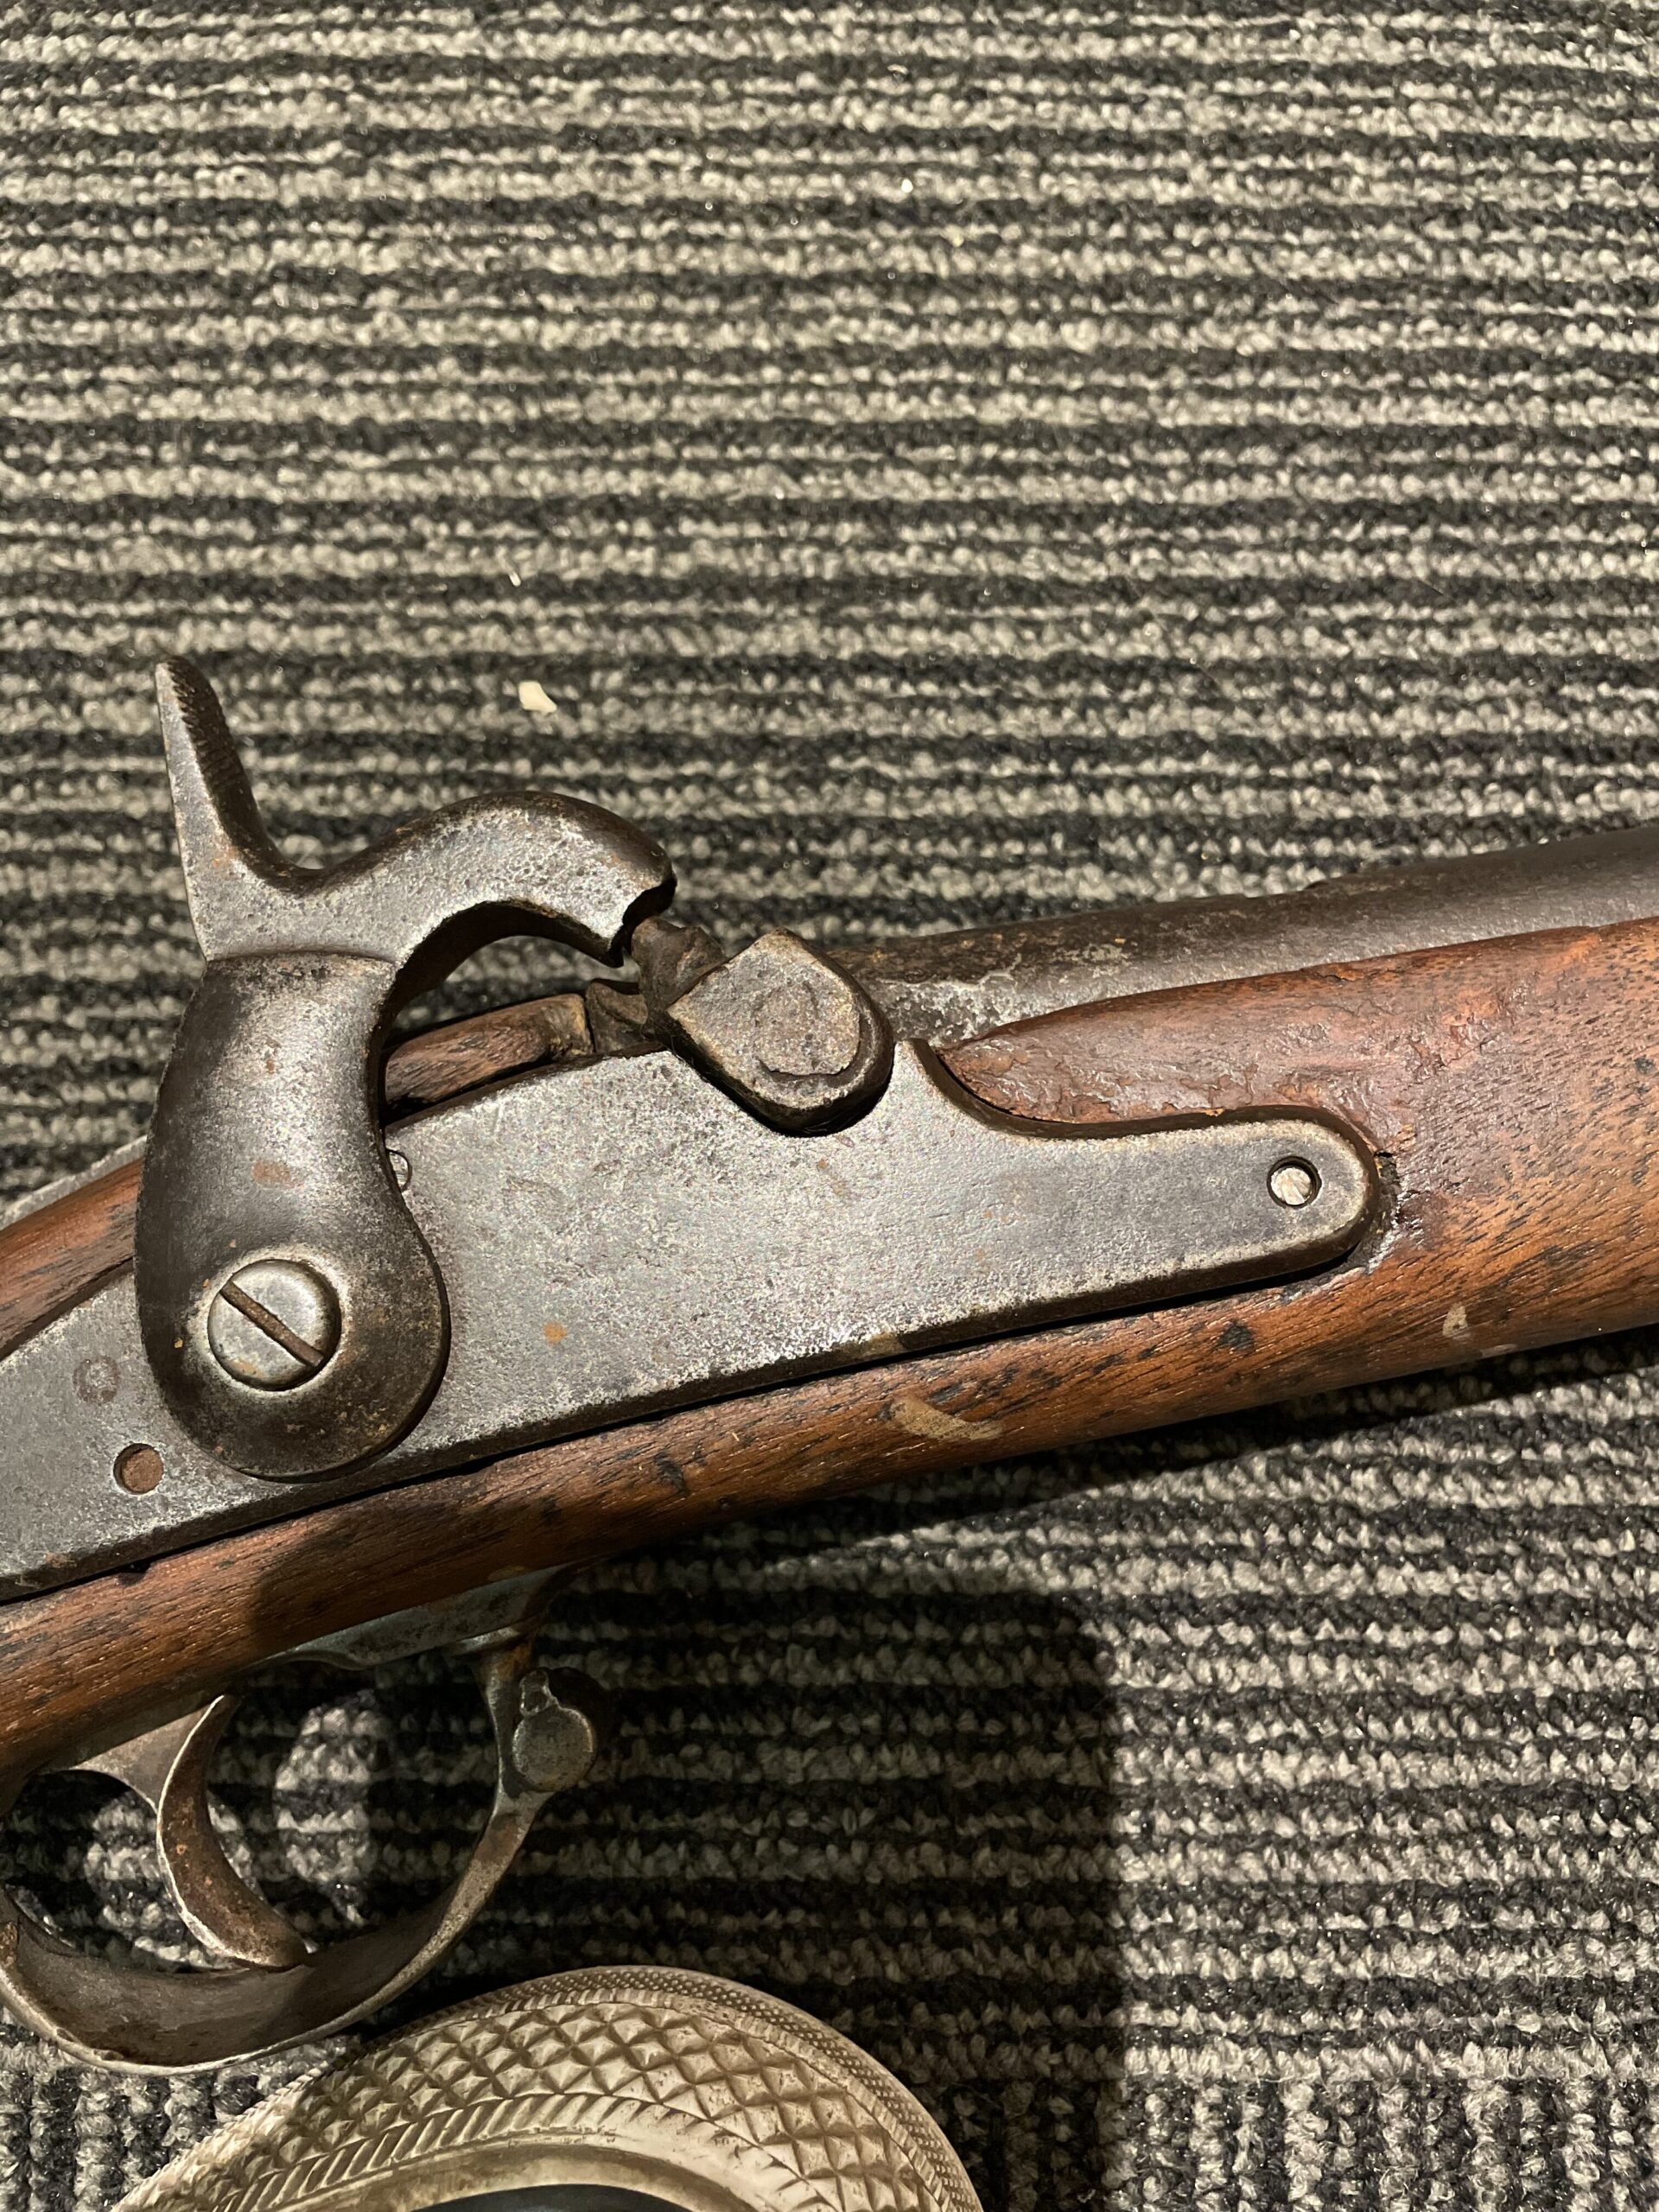
After careful speculation, I was able to identify the make of the rifle, an United States Springfield Percussion Musket Rifle. You can barely see the engraving, but there is a flying eagle with US Springfield engraved next to it. I didn’t know what year it was because that was completely engraved out. I got some context clues from the rest of the gift. The man that used this was a Confederate Solider. I dug further into my research and found that it was an 1861 US Springfield Percussion Musket. I wasn’t done yet. I researched the battles that Anderson Damewood, the Confederate solider fought in. Damewood fought in the Battle of Middle Creek and Battle of Chickamauga.
One question was bugging me though. How did Damewood get the rifle? US Springfield supplied 99% of the Union. I have my theories. Since the rifle doesn’t look exactly like an 1861 US Springfield rifle, it was definitely damaged during battle. The lower barrel band was handmade and the ramrod is missing. The theory that makes the most sense is that an Union solider was killed with this rifle in an explosion and Damewood got ahold of the rifle and fixed it up so it was usable again, hence the handmade lower barrel band and missing ramrod. The Confederate Army did not have top-notch weapons like the Union; they just used what they owned. By using this rifle, it gave Damewood an advantage.
Shortly, I’ll be creating a mini-exhibit once I return to my internship soon. More updates coming soon.
First few weeks
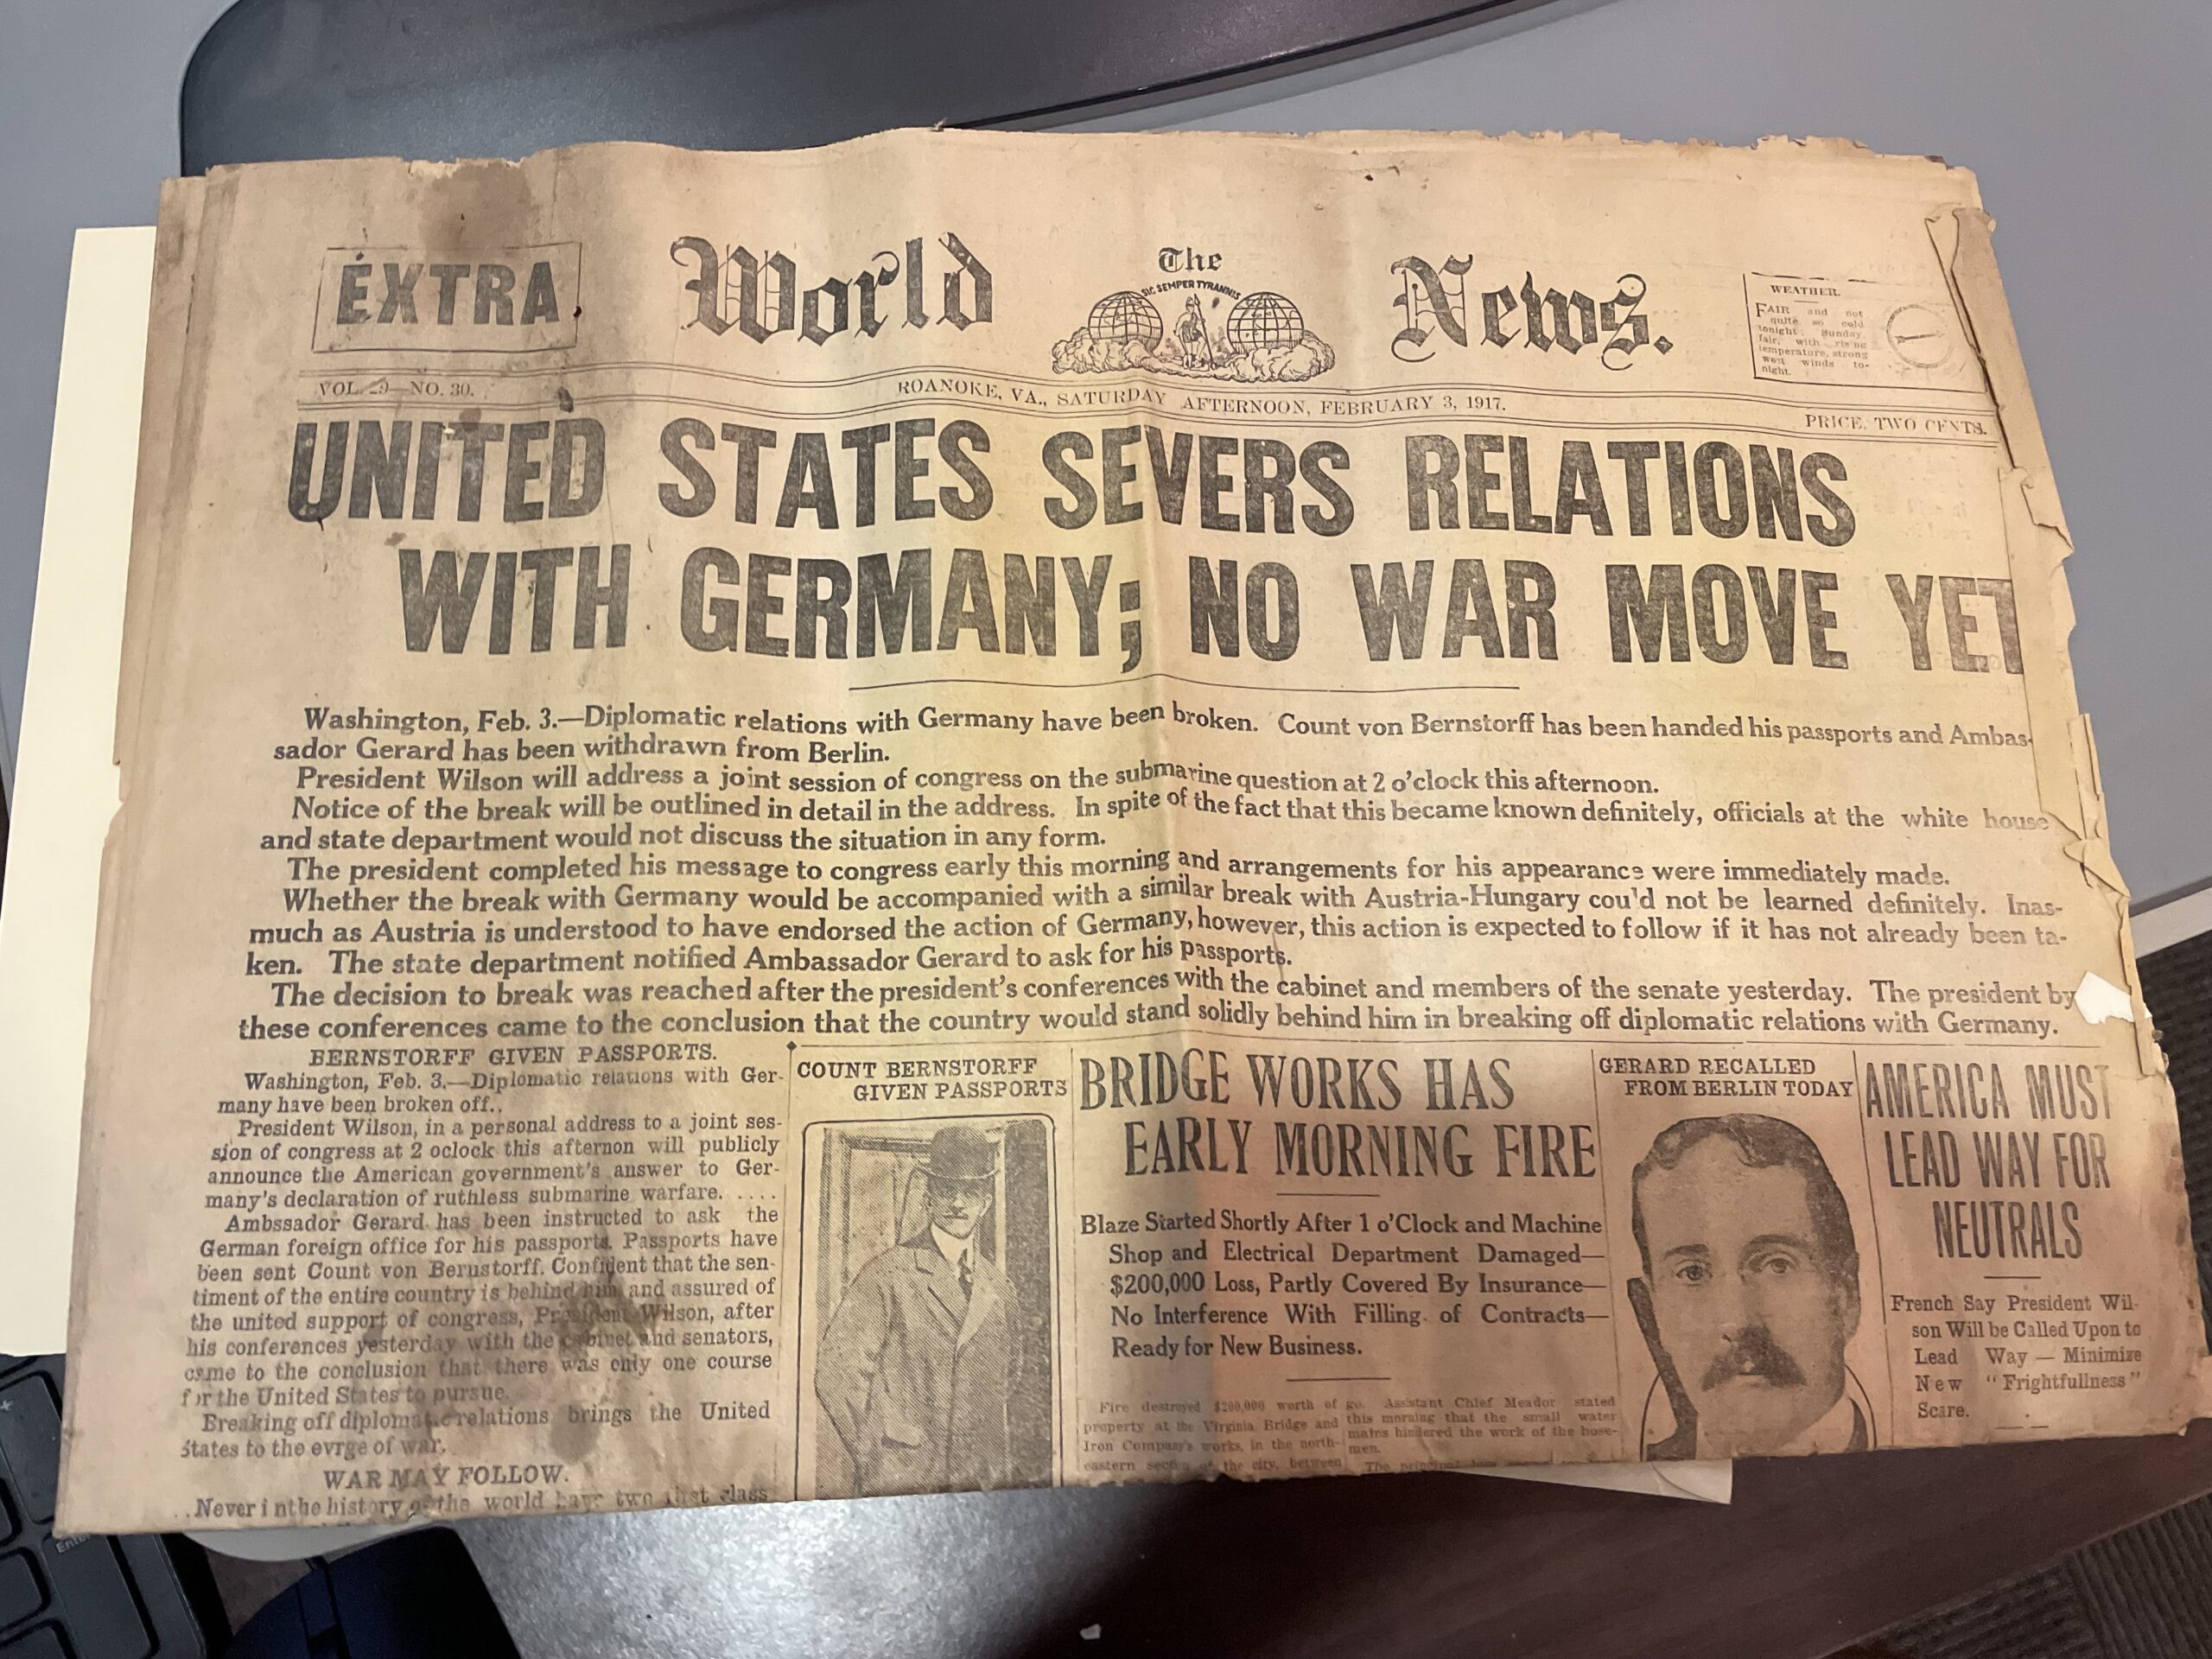
I have learned so much in the first few weeks at my internship, O. Winston Link Museum. I have learned how to navigate the collections database, Past Perfect. The first thing I was tasked to do was to update the status of photographs, in terms of location, the condition and confirming that it was present in the correct folder. I spent 3 days out of the week working on updating the status of the photographs. After I was comfortable working with the collections database, I moved on to adding new archival gifts and donations to the database. I was able to handle the archives which I always love doing; I get to fully understand the object by simply studying it with my eyes.
I was taught about accession numbers. First, it’s the year that it was donated. Secondly, the next number is the donator number. If a donator donates more than one item, there is an additional number following the donator number. (Ex: 2023.05.7) If there are multiple piece to one object, like shoes, they will be labeled with a letter (Ex: 2023.05.8a, 2023.05.8b) Or if it there is a nail file, buttonhook and cosmetics container, the accession number will be 2023.05.9.1, 2023.05.9.2, etc.)
Finally, I was able to work with acryloid, a liquid that is spread on a small part of the object, and is written on by a smudge proof ink pen. The accession number is labeled on the object, a place where is can be easily found, but hidden enough to where the public won’t notice it. There is white acryloid which is helpful on dark colored objects. There is also clear acryloid which is better to use on clear/glass/light colored objects.
